

Earn passive income with your Telcoin
Mine TEL and QUICK on the Polygon (Matic) network

In this step-by-step tutorial, we are going to show you how to earn passive income by mining TEL and QUICK on the Polygon (Matic) network. This is done by pairing your TEL with either Wrapped ETH, QUICK, Wrapped BTC or AAVE in a liquidity pool on the QuickSwap Platform and then staking your LP tokens on Telcoin’s TELxchange. In addition to mining TEL and QUICK, you will be earning earning fees proportional to your share of the liquidity pool on QuickSwap.
QuickSwap is a fork of Uniswap and while the user experience is nearly identical to Uniswap; the main difference is that QuickSwap runs on the Polygon (Matic) network, which has negligible gas fees compared to the high costs of the Ethereum network that powers Uniswap. For the purpose of this tutorial, we will be pairing the TEL with Wrapped ETH.
Before we begin, our disclaimer needs to be noted: The information provided below, as well as on our website (coinpad.io), does not constitute investment advice, financial advice, trading advice, or any other sort of advice and you should not treat any of the content as such. Moreover, we strongly advise you to DYOR on the possible risks of crypto staking, including impermanent loss. Our tutorials are for educational and awareness purposes only.
Now let’s get started.
Step 1: You will need to have your TEL in either MetaMask or another wallet that supports both WalletConnect / Walletlink and the Polygon (Matic) Network. We prefer MetaMask and thus are using this wallet for the purpose of this tutorial. You will also need to hold an equal value (in terms of market price) of the other coin you choose to pair it with in order to enter Quickswap’s liquidity pool.
2. If you haven’t already, you will need to add the Matic network to your MetaMask wallet. This link will show you how.
3. You will then need to transfer your TEL from the Ethereum network to the Polygon (Matic) network. This is done using the Polygon Bridge.
4. On the Bridge site, in order to login you will need to connect your wallet. Make sure the network selected in your MetaMask is the Ethereum Mainnet (not Matic network).

5. When you are connected, there will a be a transfer box at the right with the default currency typically ETH. Click the drop-down menu to choose Telcoin. Select the amount of TEL you want to transfer. For our example below, we have chosen 10,000. There will be ETH transaction fees for the transfer, so you need to have ETH in your wallet. When you have selected the amount of TEL to send, press the transfer button.

6. After clicking Transfer, a pop-up will appear saying that moving funds from Ethereum to Polygon takes ~7-8 minutes. Press Continue.

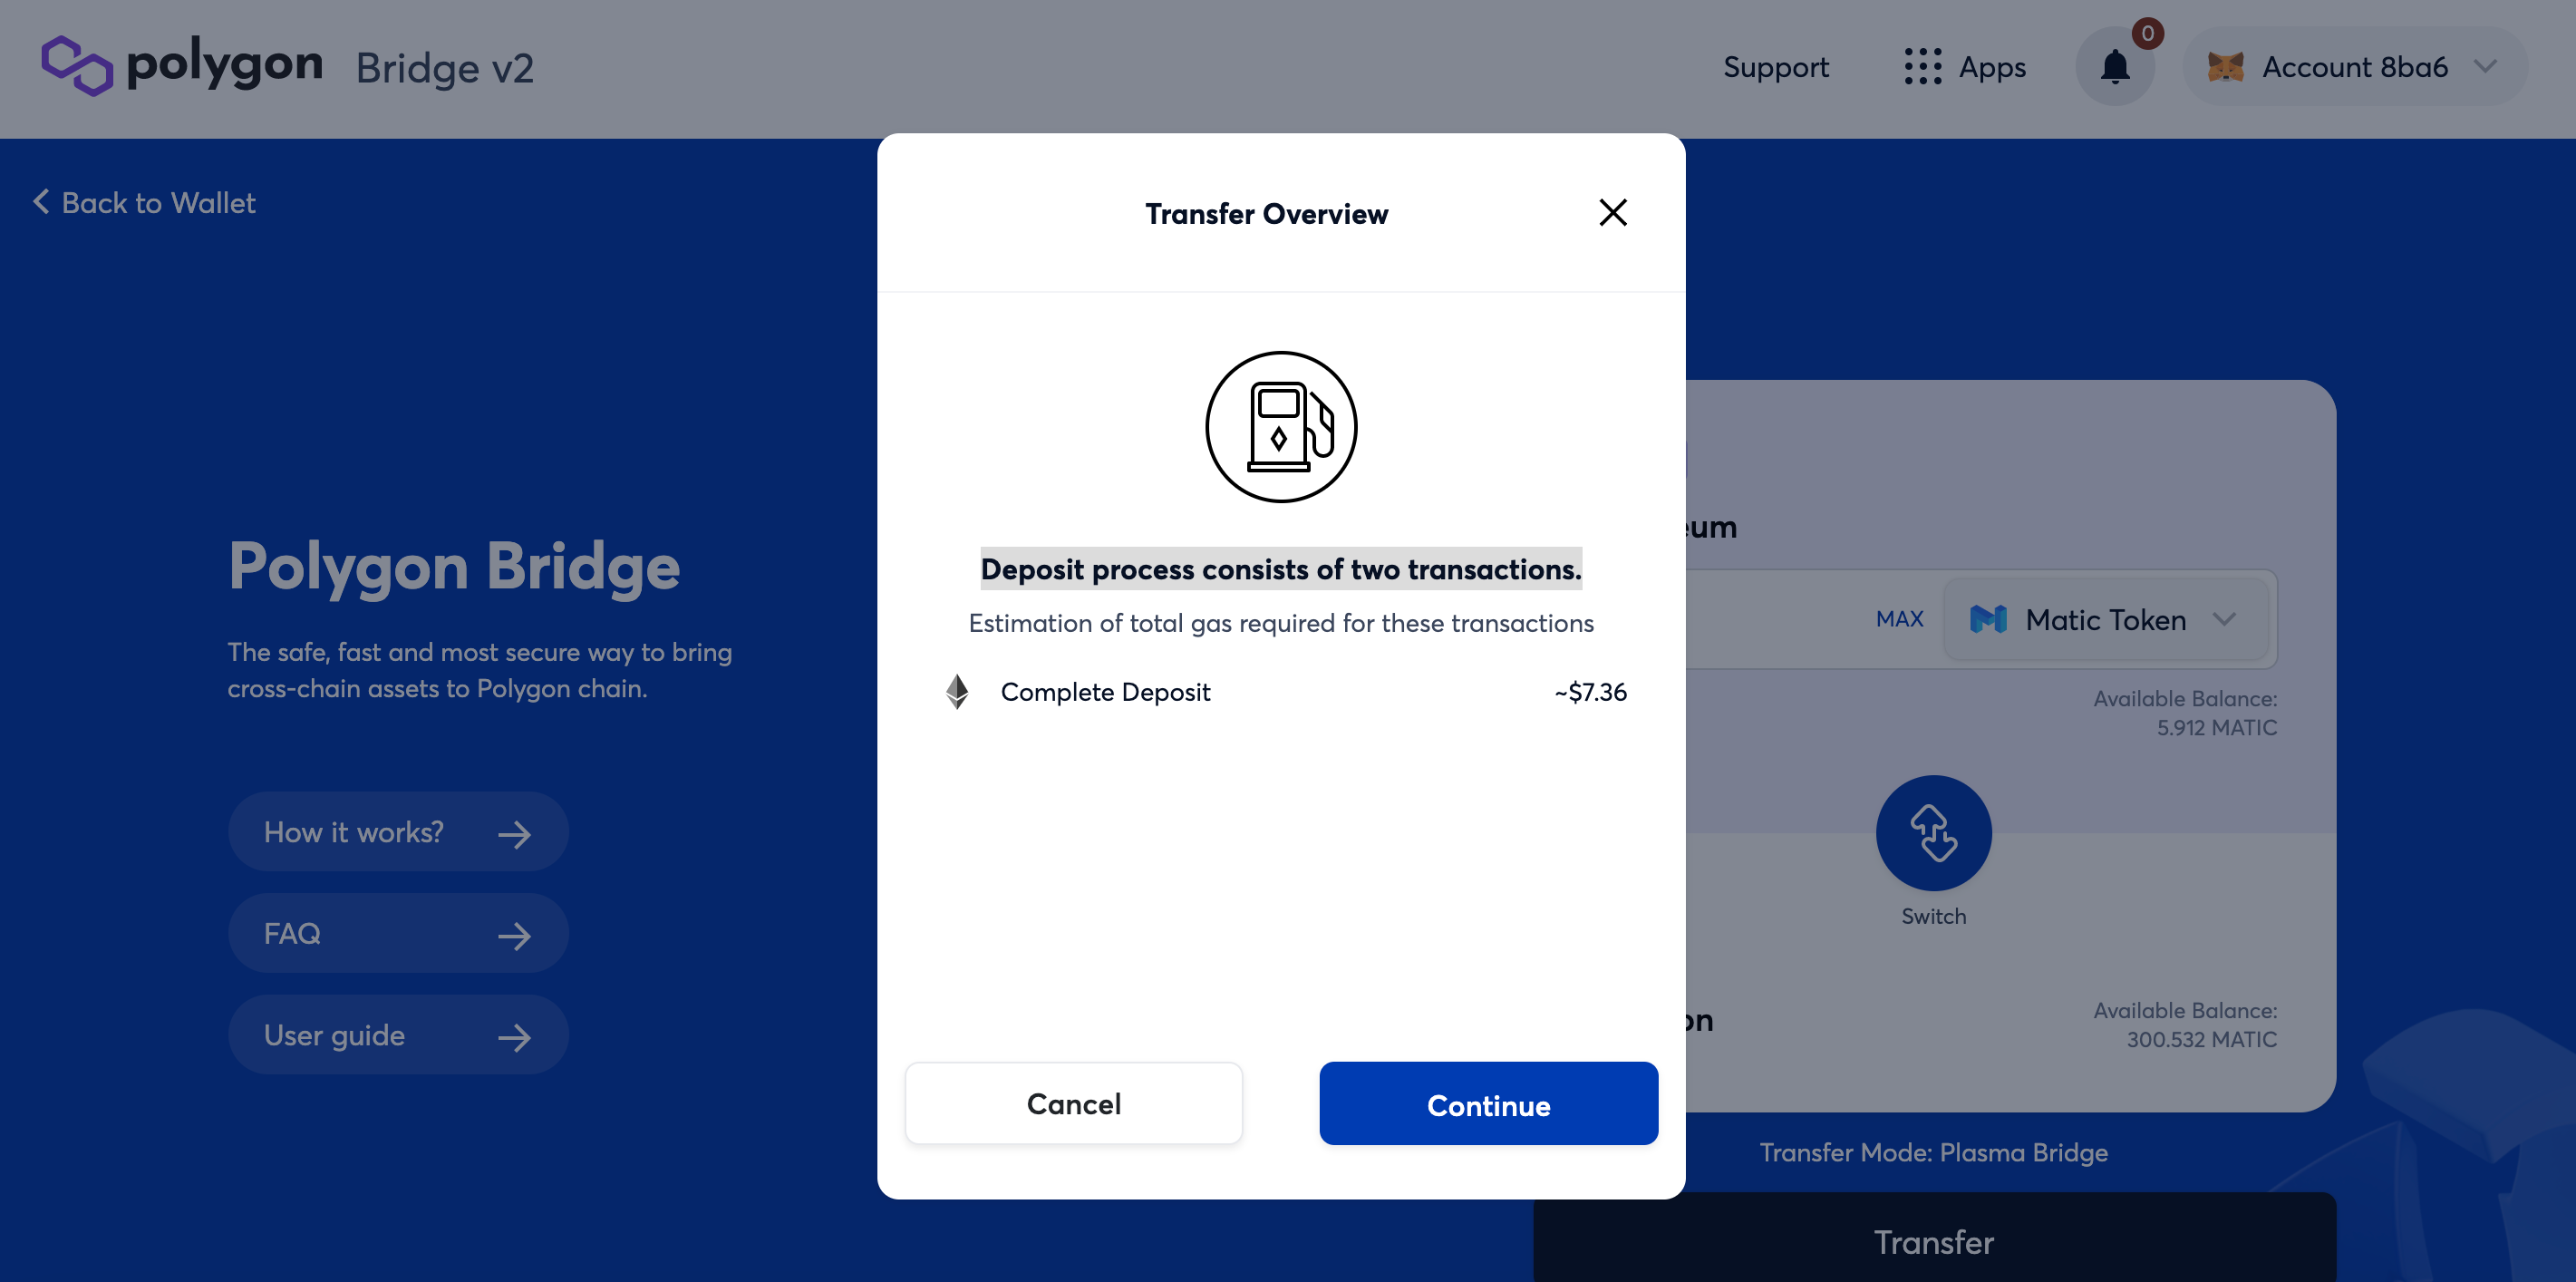
7. Another pop-up will appear saying that the deposit process consists of two transactions and giving you the estimated fee for gas (paid in ETH). In the example below, the estimated fee is $7.36. If you accept the fee, press Continue.
8. Another pop-up will appear to confirm and review the transaction, giving the estimated transfer fee. If you agree, press Continue.

9. After pressing Continue, another pop-up will appear to confirm your deposit. Press Continue.

10. After pressing Continue, your MetaMask should pop up and ask you to sign the transaction. If you accept, then press Confirm in your MetaMask.
11. Shortly later the confirmed circle should be ticked saying that the transfer is en route. You can view the transaction in Etherscan.

12. When the transfer has been completed, the completed circle will be ticked and then your TEL will appear shortly in the Matic network of your MetaMask. Thus, to check this, you will need to switch from the Ethereum Network to the Matic network in your MetaMask by clicking the drop-down menu at the top of your wallet that says Ethereum Mainnet.
13. You will then repeat this process with the other coin that you want to pair with TEL in the liquidity pool.
14. While gas fees are negligible on the Polygon (Matic) network, these are paid in Matic and thus you need to have Matic in your wallet along with your TEL and ETH. If you do not have any Matic, you can get a small amount for free in order to perform a few transactions to get you started. There are several of these Matic “faucets”, click here for one of them. An alternative is buying Matic on Ascendex, which supports the Matic network for withdrawals (most exchanges including Binance do not).
15. Once you have some Matic (you only need a fraction of one), go to the Pool section of the QuickSwap site and click Add Liquidity. If you are pairing TEL with ETH then choose max on either ETH or TEL (or a lesser amount if you want) and the corresponding amount of the other coin will be calculated automatically. If it says insufficient funds, then choose max of the other coin. Click Supply, then Confirm Supply. Your MetaMask wallet should pop up and ask you to confirm the transaction.
16. Once the transaction is confirmed, you are now providing liquidity in the pool and earning passive income. Liquidity providers earn a 0.25% fee on all trades proportional to their share of the pool. Fees are added to the pool, accrue in real time and can be claimed by withdrawing your liquidity. But there is more. Now it is time to mine TEL and QUICK by staking your LP tokens on TELxchange.
17. Go to TELxchange and select the pool that you are providing liquidity for on QuickSwap. Where it says Stake, click Approve. Your MetaMask wallet should pop up and ask you to confirm the transaction. Once the transaction is confirmed, the Approve button will now say Stake (you may need to refresh the page). Click on max to deposit al of your LP tokens and then click Stake. Your MetaMask wallet should pop up and ask you to confirm the transaction. Once confirmed, you are now mining TEL and QUICK and you can see your rewards by clicking the rewards menu at the top left of the page.
—————
If you found this tutorial helpful, please head over to coinpad.io and join our early bird subscription service (it is free!). Moreover, we will airdrop 500 TEL to the first ten subscribers who email us at coinpad@protonmail.com and follow us on twitter @coinpad3.